Creator Studio guide
Make something in the drawing or animation program you already use, upload it in the Creator Studio, and other players can buy it in the shops.
Start by downloading the template for what you're making and drawing on it. The examples below are real items from the game's shops, drawn on the same templates, so you can open one and see where every piece goes. Upload your file in the Studio and you'll see it on your MovieStar straight away. Once one of our reviewers has approved it, it goes on sale, and you earn 60% of the price whenever another player buys it, in StarCoins or Diamonds as they paid.
Make it in the studio
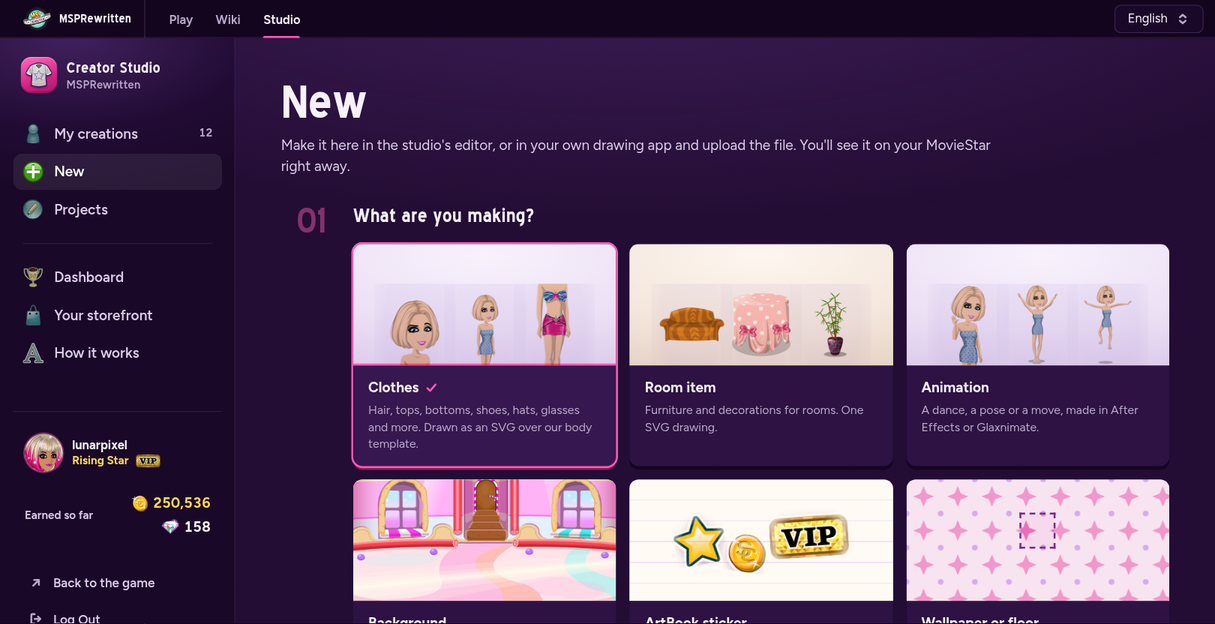
The Creator Studio has its own editor, so you don't need another program. On New, pick what you're making and press Open the editor. It saves as you work, to your own private projects, and nobody sees it until you send it for review.
- Pick a starting shape. For clothes, choose a T-shirt, a dress, trousers, shoes and more: it is drawn on the MovieStar for you, ready to colour and decorate.
- Paint, as in any drawing app: Brush, Eraser, a paint bucket (Fill), Shapes and Stamps, with the colours along the bottom. Move around moves the page when you're zoomed in. You never edit shapes: a moment after you paint, the studio turns your painting into the flat colour shapes the game uses, each on the body part under it.
- Shade it like the game's own clothes: pick Lines, Shadow or Shine beside the colours and paint over your colours. They're see-through black and white, so they stay right whatever colour a buyer picks, and painting over a shadow again makes it deeper. Lines are for outlines and folds; the game draws them the same way. Glow paints soft colour (blush, sparkle) that stays soft in the game, and with the paint bucket you drag across an area to fade a colour into it, straight across or round from where you press: a real gradient, as the game's own clothes have.
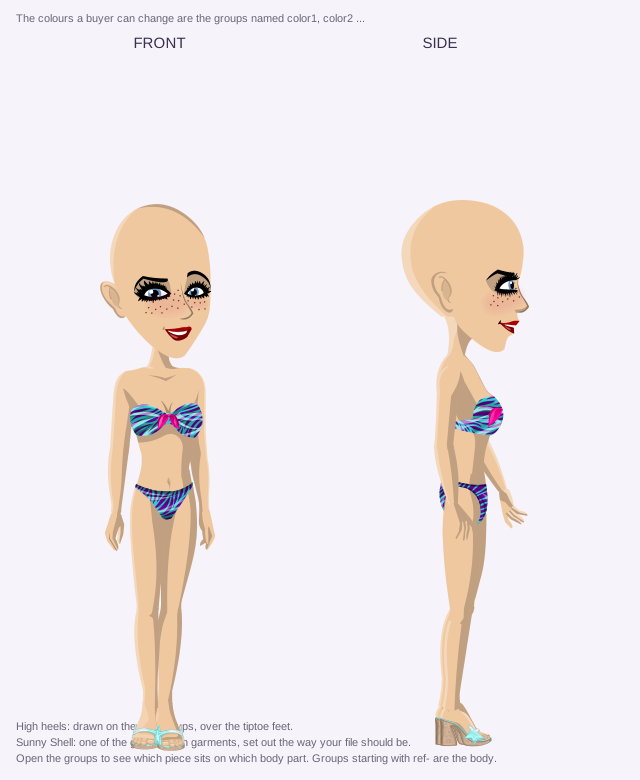
- High heels has its own start: the feet stand on tiptoe while you paint, as they do while heels are worn.
- Hair, hats and glasses: start with Hair, hat or glasses (or pick Worn on the head in the ⋯ menu) and everything you paint moves with the head. Switch to Behind the body for long hair down the back or the back of a hood.
- Bring in a drawing from any app: a PNG or JPEG picture, a Procreate or Photoshop .psd, a Krita .ora, an SVG or a PDF. It is put on the MovieStar for you.
- The colours are done for you. Every colour you draw with is one buyers can change, up to eight, the biggest first. Untick one under Colours buyers can change to keep it as you drew it, or press its swatch to change it everywhere.
- The side view is done for you. A MovieStar turns sideways when they walk, so the editor copies your front onto the side. On the Side view, press Draw it myself to draw it yourself instead.
- See it move. Your MovieStar wears it beside the drawing as you work. Try it on shows it on your MovieStar the way the game draws it, and Send sends it for review when it's ready.
- Want every tool? ⋯ > Advanced editor opens the full editor, with the pen, layers, effects, gradients and the animation tools. Simple editor brings you back.
- Used to Photoshop or another painting app? In the Advanced editor, the Lasso works the same way: draw round an area, and the brush, the pencil and the eraser only work inside it. Shift adds to the area, Alt takes away, Delete erases it, Ctrl+J copies what is inside as a piece of its own, and Esc lets it go. Its Fill as I draw option fills each shape as you finish drawing it. The Pencil draws an outline that becomes a filled shape when it ends where it began. The Blob brush, with Merge with shapes of the same colour ticked, joins strokes of the same colour into one shape, so painting doesn't leave a piece for every stroke.
Examples
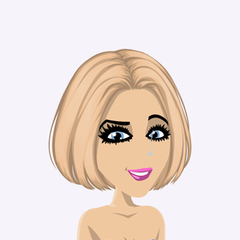
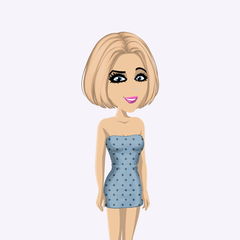
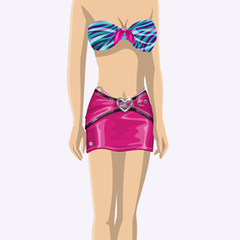
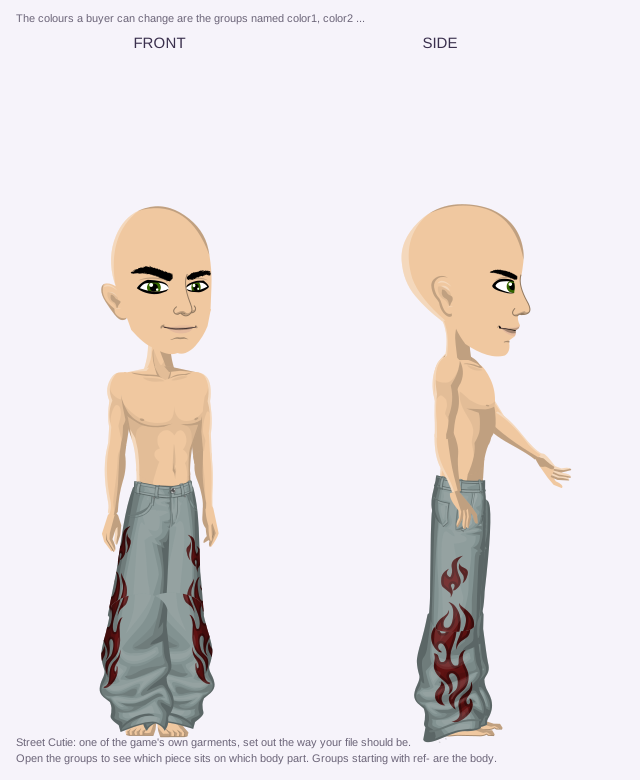
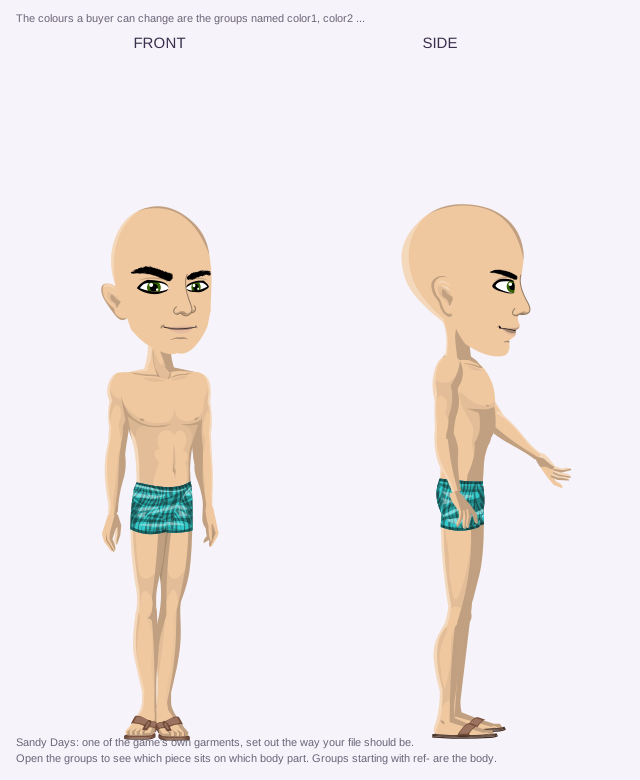
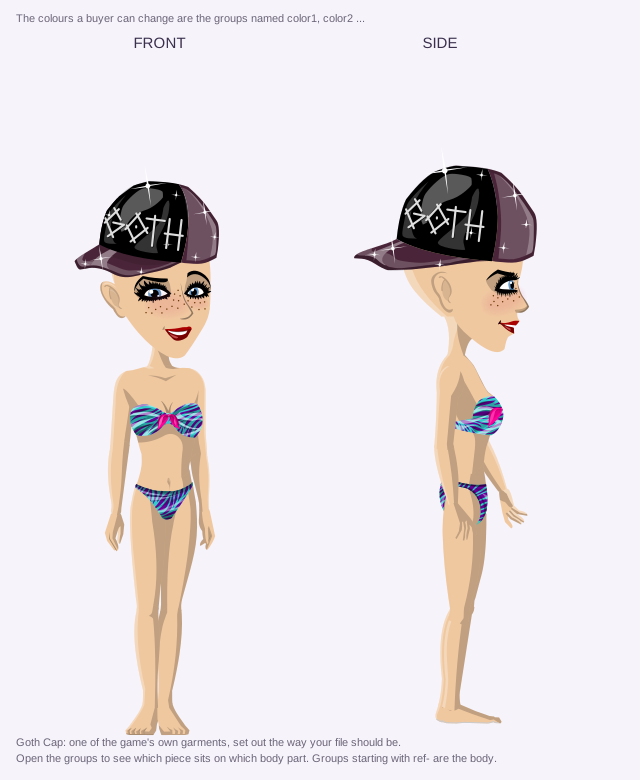
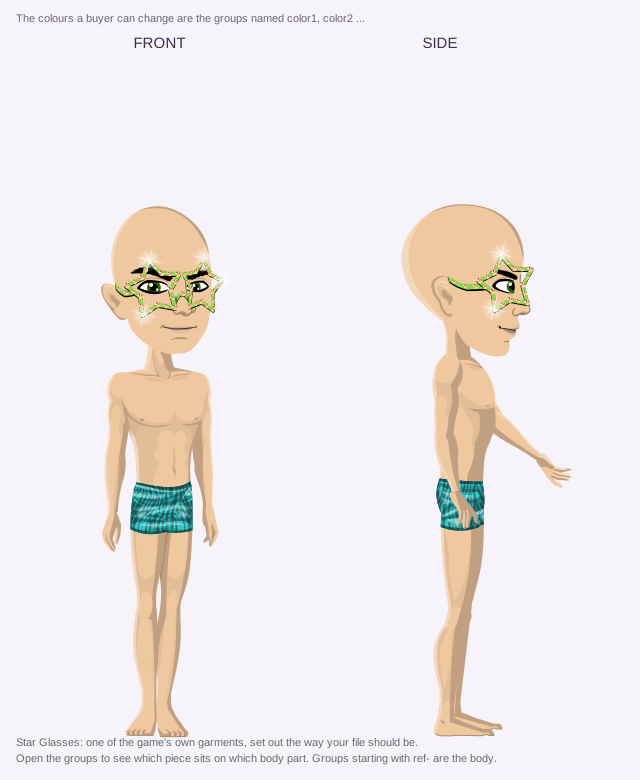
Open one to see how it's put together, then draw your own on the template. You can upload an example to try it on, but you can't send one for review, even recoloured or moved.
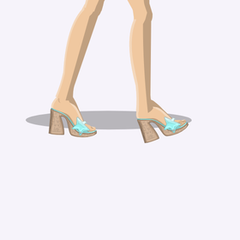
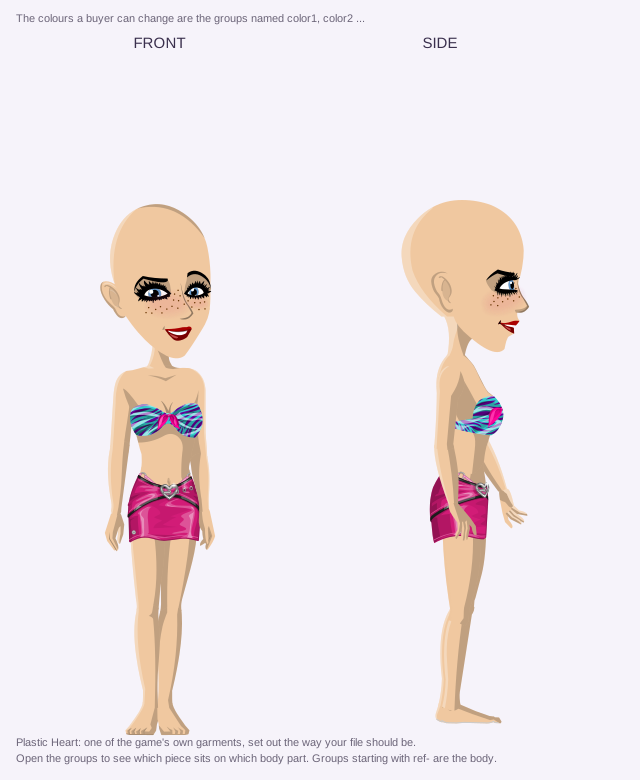
Drawn on the girl's template
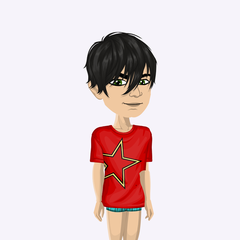
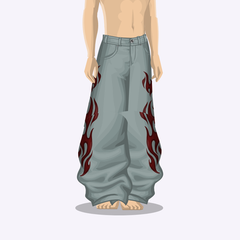
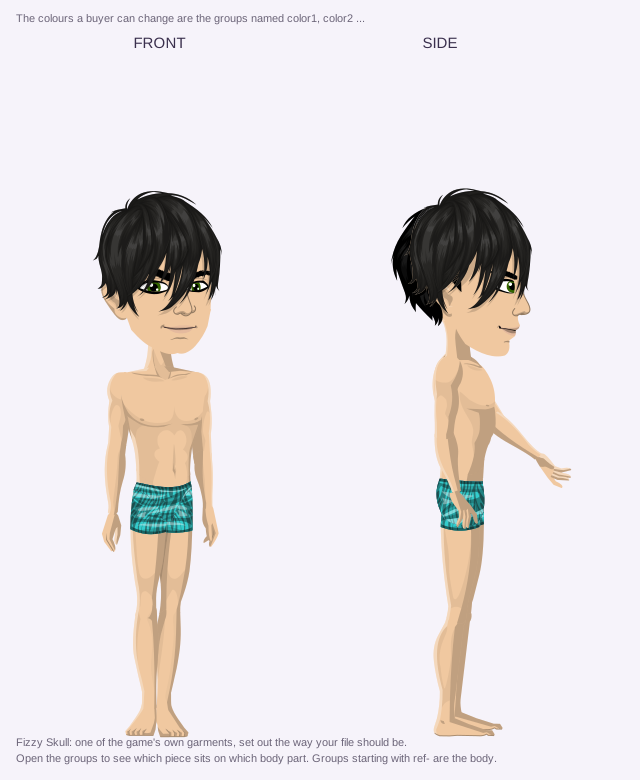
Drawn on the boy's template
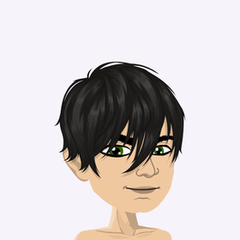
Hats and glasses, which fit either body
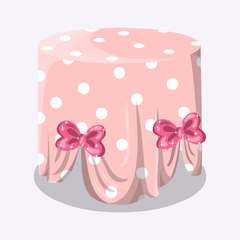
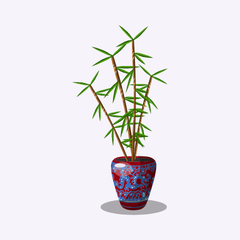
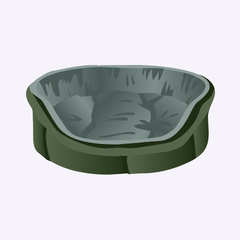
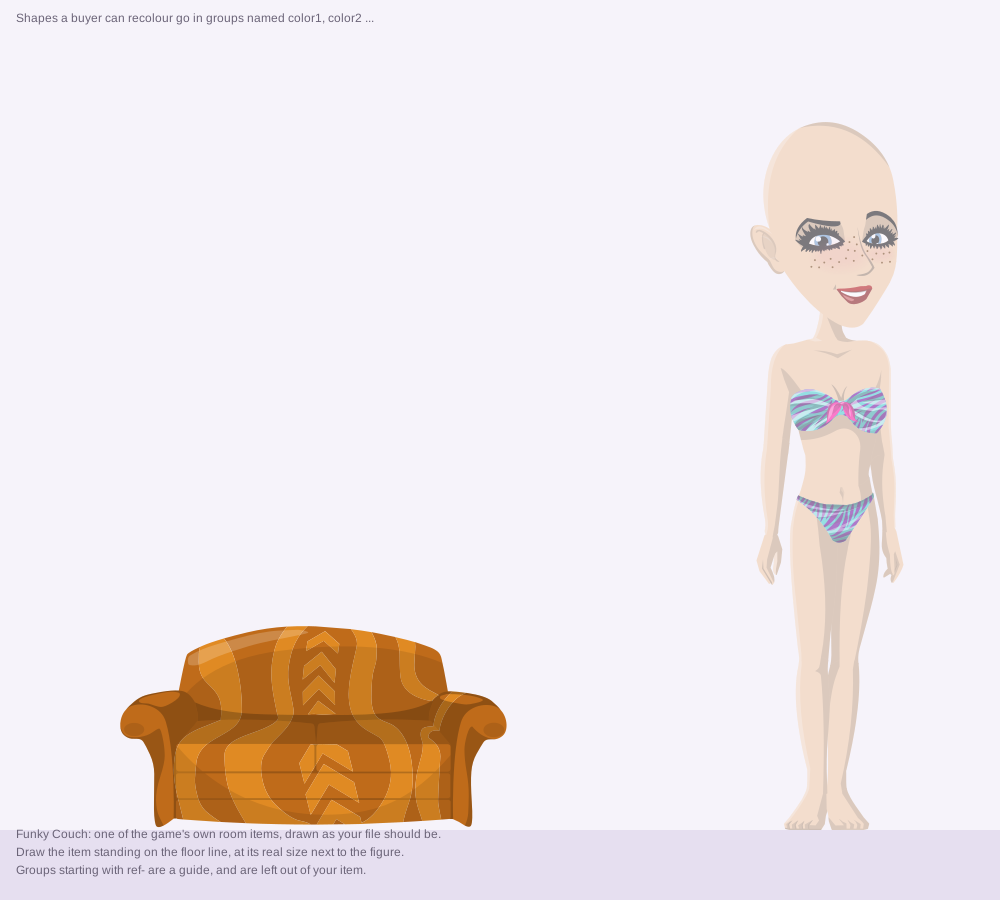
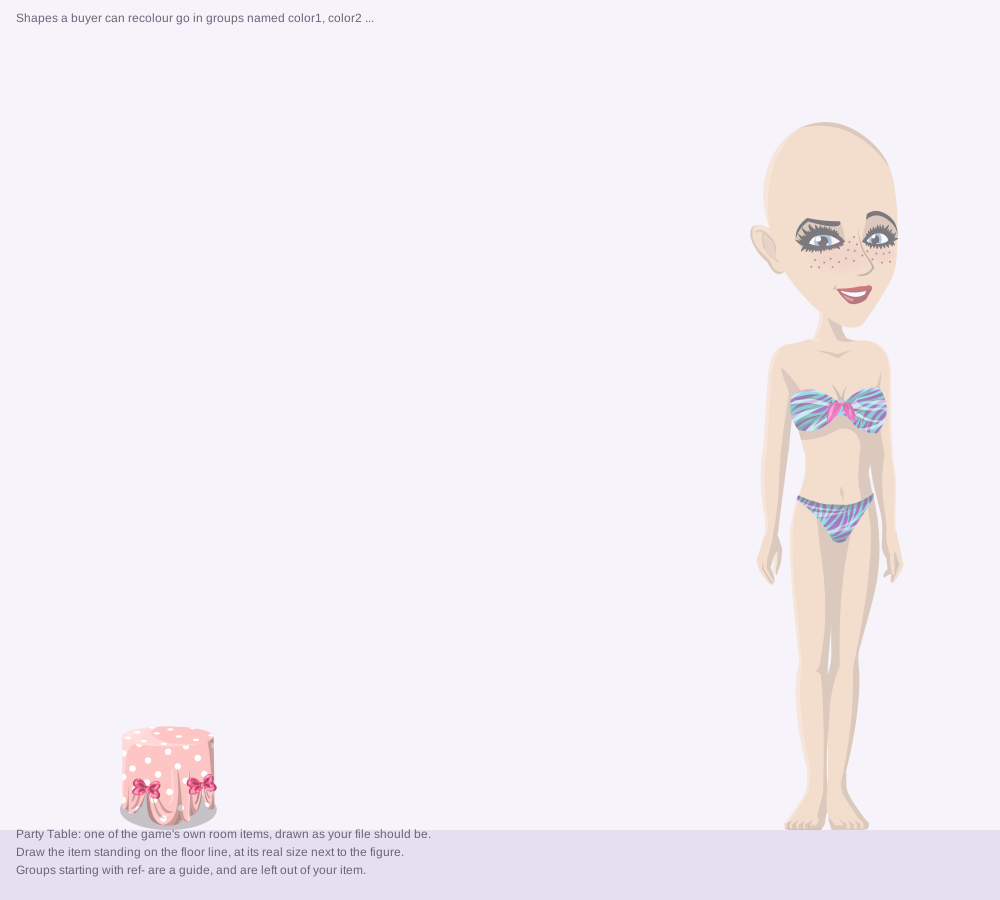
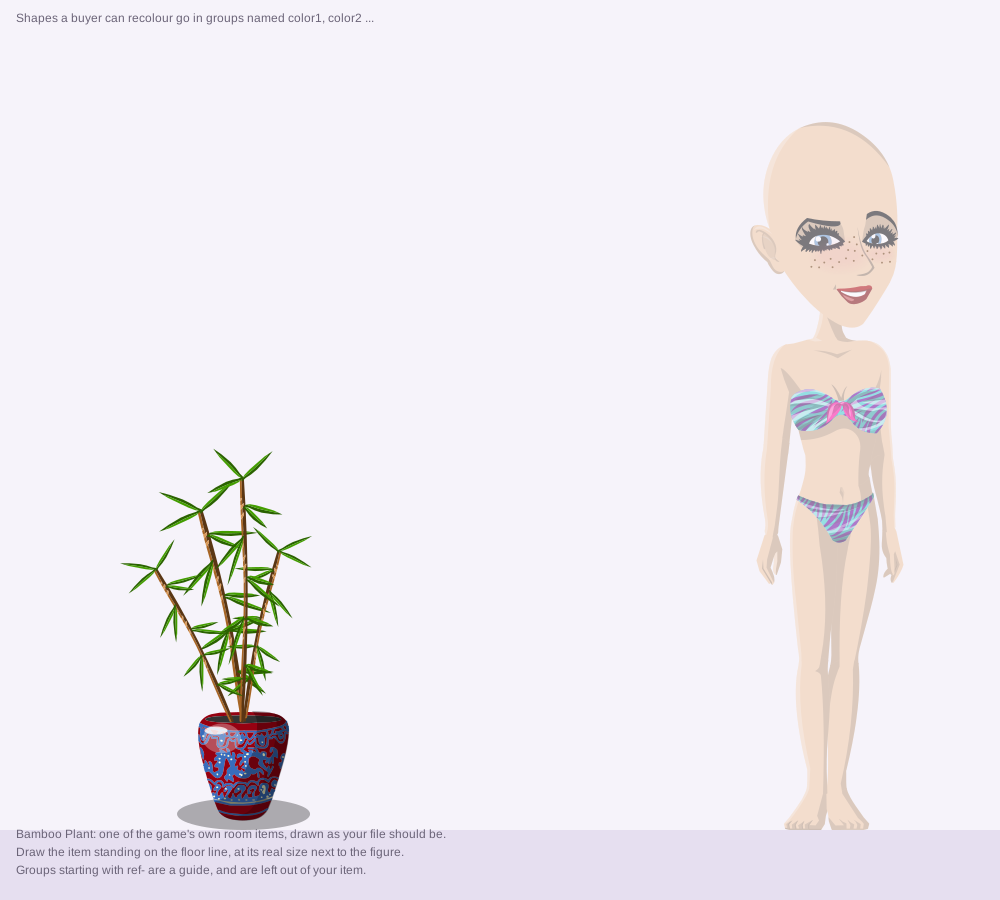
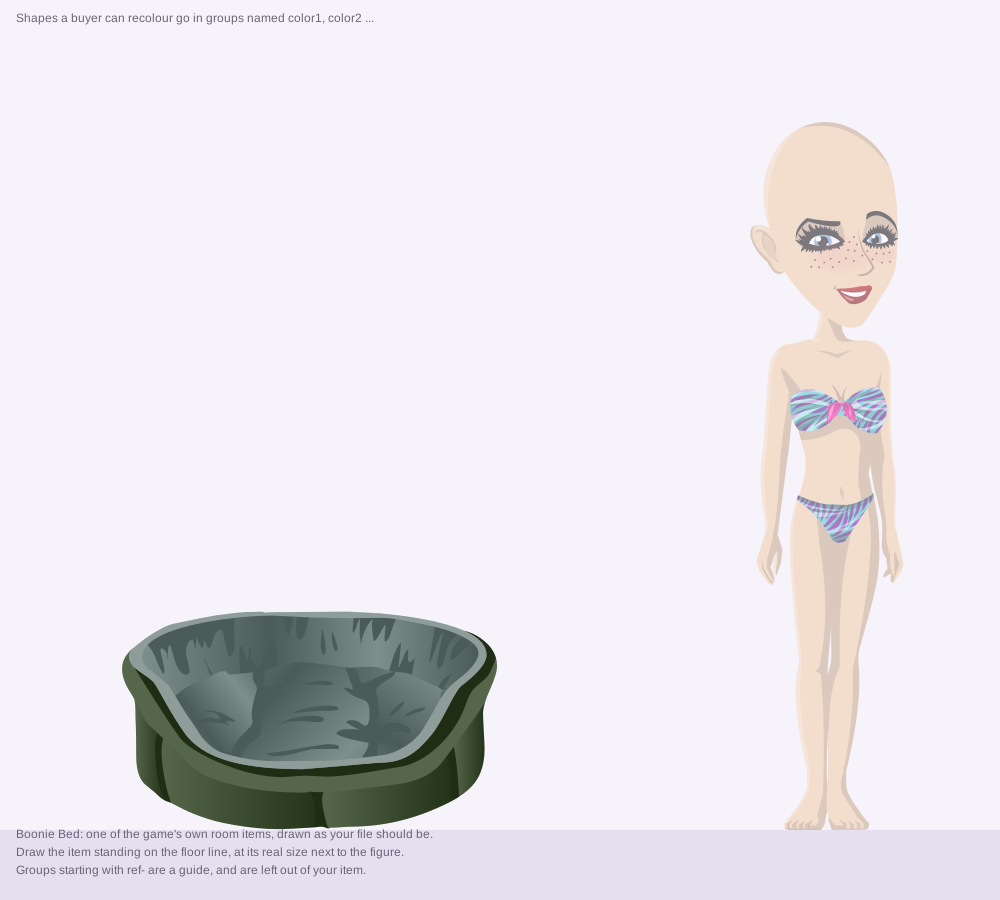
Room items
Animations
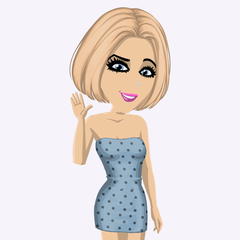
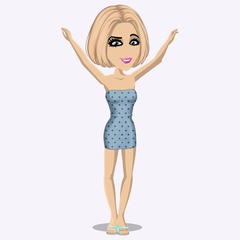
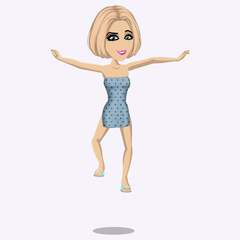
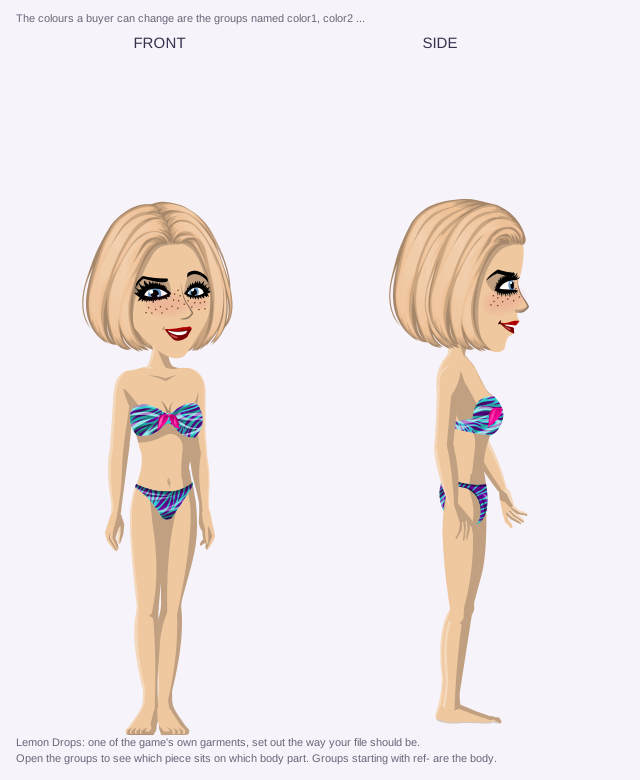
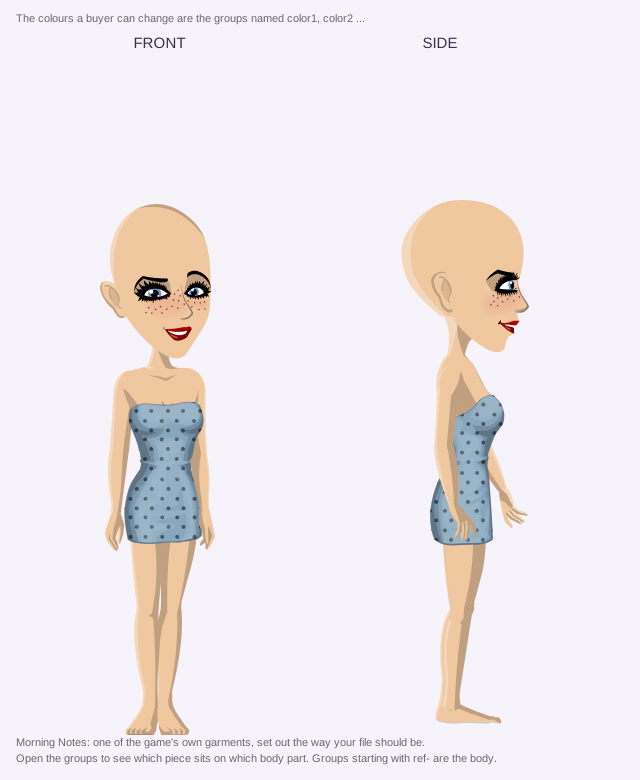
Steps
- Download the template for what you're making, and an example too if you'd like to see one finished. Open them in your program. (Or make it in the studio's own editor: see above.)
- Draw or animate on it. Don't rename its groups and layers.
- Save or export your file. Clothes and room items are SVG files, backgrounds are PNG, JPEG or SVG, and animations are Lottie files, which are
.jsonfiles from After Effects or Glaxnimate. - Upload it in the Studio. It becomes a draft, which only you can see. The Studio shows it on your MovieStar, with a report beside it listing anything to fix or check. Fix things in your program and upload again as many times as you need.
- Send it for review. Once it's approved it goes on sale and you get a copy.
| What | You upload | Made in, for example |
|---|---|---|
| Clothes: hair, tops, jackets, bottoms, shoes, boots, high heels, hats, glasses, scarves and necklaces, bags | SVG | Illustrator, Inkscape, Affinity Designer, Figma |
| Room items: furniture, decorations, food, gadgets, vehicles | SVG | Illustrator, Inkscape, Affinity Designer, Figma |
| Animations: dances, poses, actions | Lottie JSON | After Effects with Bodymovin, Glaxnimate |
| Backgrounds for the city, rooms, ArtBooks and movies | PNG, JPEG or SVG | Photoshop, Krita, Procreate, Clip Studio, anything that paints; Illustrator, Inkscape, Affinity or Figma for a drawn one |
Clothes
A piece of clothing is a drawing cut into pieces, one for each part of the body it covers. Each piece moves with its body part, which is why a sleeve follows the arm when a MovieStar dances.


Use the template for the body that will wear it. Tops and trousers fit best on the body they're drawn on. The heads are the same on both, so hair, a hat or glasses drawn on either template fits both.
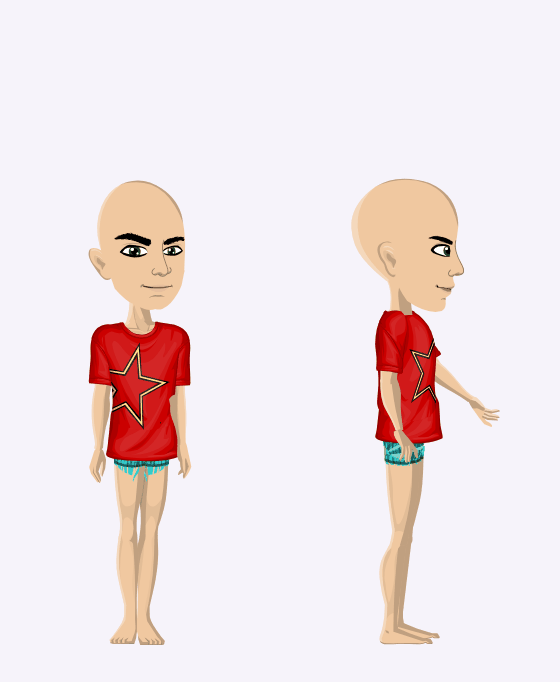
Its groups
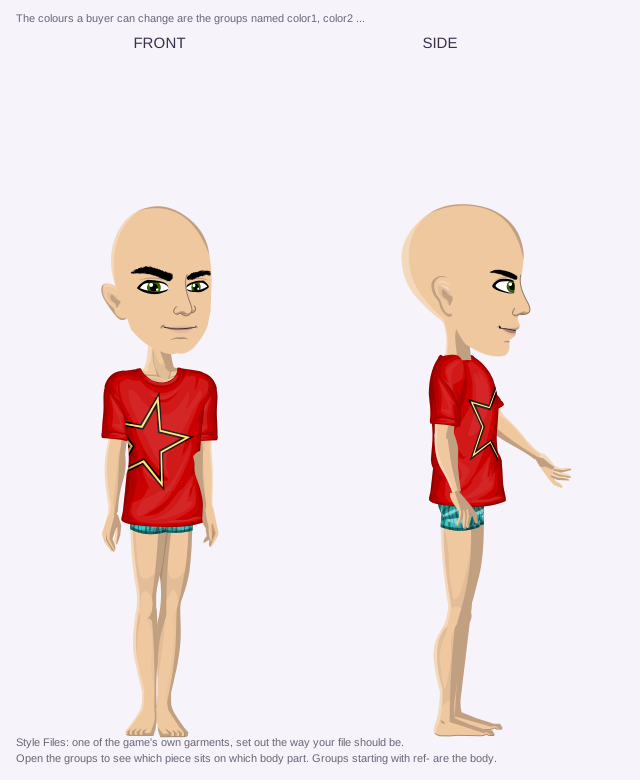
Each group named after a body part holds the pieces on that part. Inside it, the shapes a buyer can recolour are in groups named color1, color2 and so on, up to color8. Style Files uses three. A color1 in one part and a color1 in another are the same colour to the buyer, so they always change together.
A part can hold more than one color1 group, as FrontTorso does here, and they're all the same colour. Your program may show any of these as a layer or as a group. Either works, because only the name counts.
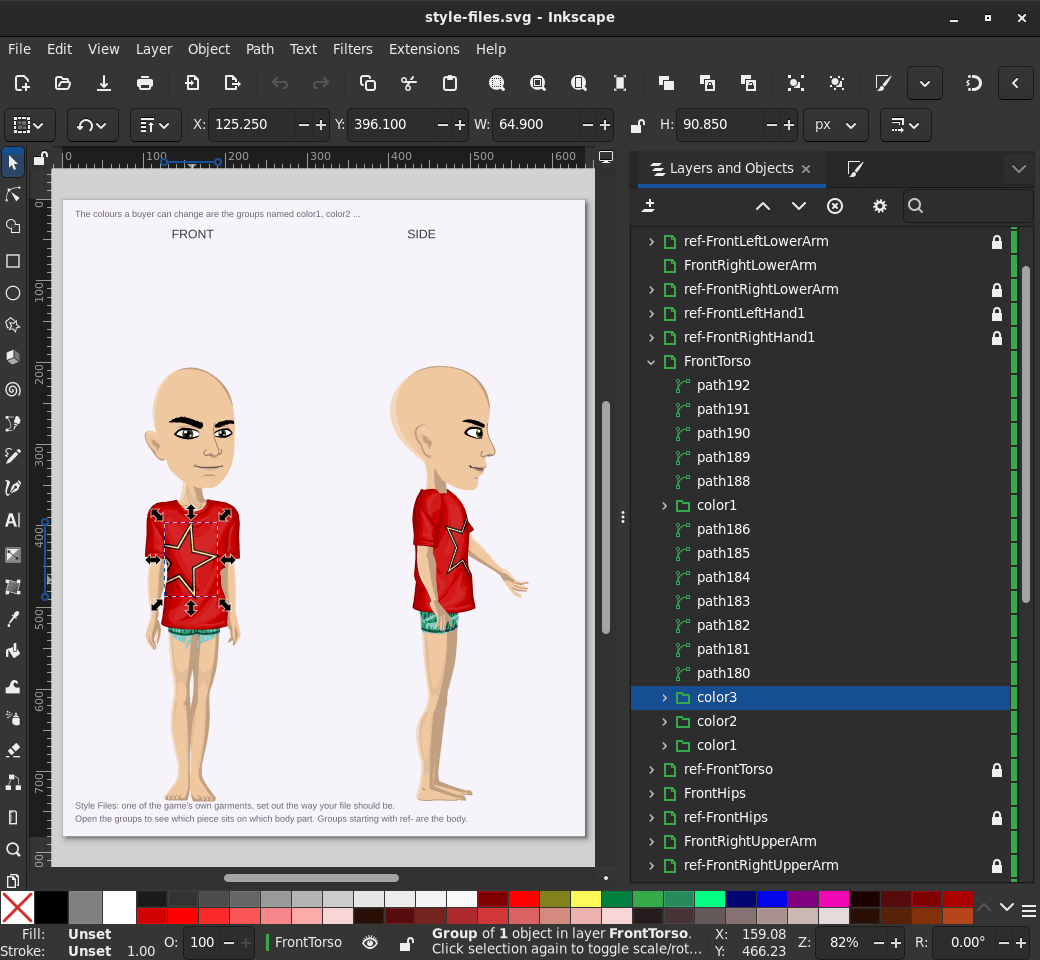
FrontTorso is opened, showing the shirt's shapes and its colour groups. color3 is picked, and on the page that's the yellow band round the star. Under them is ref-FrontTorso, the locked guide layer.The rules
- Draw each piece inside the group named after the body part it sits on. A T-shirt is a piece in
FrontTorsoand one on each upper arm, plus one inFrontHipsif it reaches below the waist, as Style Files' hem does. Then the same again in the side view. A shape outside the body-part groups is put on the body part it is drawn over, which is a guess: hair left outside them ends up in front of the face. The report says when that happened. - Draw both views. A MovieStar turns sideways every time they walk, so clothes with no side view can't be sent for review. That includes hats and glasses.
- Left and right are the MovieStar's own. In the front view their right arm is on your left.
- Let pieces overlap by a few pixels at the joints (shoulder, elbow, waist, knee), so no gap opens when a limb bends.
- Don't move, scale or rotate the body-part groups, and don't change the page size.
- Draw with shapes, not pictures. A picture pasted or placed in the drawing (a PNG, a screenshot, a layer your program turned into a picture) can look right in your program and in the editor, but the game leaves it out, so a piece is missing when it is worn. In the studio's editor, select the picture and choose Object > Image trace to turn it into shapes.
Where things go
- Hats, glasses and hair go on
FrontHeadandSideHead, and there's room above the heads for a tall hat. Pick Headwear as the category when you upload, and the game draws your hat over the wearer's hair; glasses go over both. Make a hat a few pixels bigger all round than the template's bald head, because hair that reaches past a hat's edge shows around it. - Anything that hangs behind the head, like long hair or the back of a hood, goes in
BehindFrontHeadandBehindSideHead, which are drawn behind the whole body. Long hair is usually two pieces: the fringe and the strands in front of the face inFrontHead, the rest inBehindFrontHead. With all of it inFrontHead, it covers the face. Do the same in the side view. - Shoes go on the foot groups. High heels do too, but while a MovieStar wears heels the game stands them on tiptoe, so draw your heels over the tiptoe feet. The template has tiptoe feet too, in hidden layers. To draw on them, hide the four foot guide layers (
ref-FrontLeftFoot,ref-FrontRightFoot,ref-SideLeftFoot,ref-SideRightFoot) and show the four that end inHighHeel. - There are no groups for the hands, because a hand changes shape as a MovieStar moves. A bag hangs from a shoulder or the hips, so draw it on
FrontTorsoorFrontHipsand their side-view groups. Gloves can't be made yet.
Front view groups
FrontHead,FrontNeck,FrontTorso,FrontHipsBehindFrontHeadFrontLeftUpperArm,FrontLeftLowerArm, and the same forRightFrontLeftUpperLeg,FrontLeftLowerLeg, and the same forRightFrontLeftFoot,FrontRightFoot
Side view groups
SideHead,SideNeck,SideTorso,SideHipsBehindSideHeadSideLeftUpperArm,SideLeftLowerArm, and the same forRightSideLeftUpperLeg,SideLeftLowerLeg, and the same forRightSideLeftFoot,SideRightFoot
A T-shirt's collar goes in FrontTorso with the rest of it. FrontNeck is for things worn on the neck, like a scarf or a necklace. Use only the groups you need. Small differences in names are fine. If your program renames FrontTorso to Front_Torso, front torso or FrontTorso_2, it still counts.
What works in a drawing
Works
- Paths and basic shapes: rectangles, circles, ellipses, lines, polygons
- Groups of your own inside a body-part group, moved, scaled or rotated
- Symbols and clones
- Solid fills, linear and radial gradients
- Outlines with a width
- See-through shapes (opacity)
Doesn't work, and the report tells you
- Text: turn it into outlines first. The template's own labels are in its guide layers, so they don't count.
- Pictures placed in the drawing: draw that part as shapes instead
- Clipping and masks: cut the shapes to the outline instead
- Blur, shadow and glow effects
- Pattern fills: expand them into shapes first
- Dashed lines (drawn solid) and blend modes (drawn normally)
Exporting the SVG
Open the steps for your program:
Adobe Illustrator
- Open the template or example with File > Open. The groups are in the Layers panel with their names.
- File > Export > Export As, choose SVG and tick Use Artboards.
- In the SVG options set Object IDs: Layer Names, CSS Properties: Presentation Attributes and Font: Convert To Outlines.
Export As can turn see-through gradients (a shine, a sparkle's glow) into small pictures, which the game leaves out, and without Use Artboards it crops the page. If the report says pictures were left out, use File > Save As, choose SVG and untick "Preserve Illustrator Editing Capabilities": a file saved with it ticked isn't accepted.
Inkscape
- Open the template or example, then open Layer > Layers and Objects (in Inkscape 1.0 and 1.1 it's Layer > Layers). The body parts are layers inside front and side: click the arrow beside front to see them.
- Click the body part you're drawing on, for example FrontHead. What you draw next goes into it. Just below it is ref-FrontHead, the guide layer with the body in it: don't draw in that one.
- Draw the side view the same way, in SideHead and the other layers inside side.
- To make a colour group, select the shapes that should change colour together, press Ctrl+G, then double-click the new group's name in Layers and Objects and type
color1. - Turn any text into paths with Path > Object to Path.
- File > Save As and choose Inkscape SVG. Plain SVG and Optimized SVG drop the names you give groups, and with them your colours.
Affinity Designer
- Open the template or example. The groups are in the Layers panel.
- File > Export > SVG, preset "SVG (for export)".
- Under More, set Rasterise to Nothing and tick Export text as curves.
Figma
- Drag the file into Figma. It becomes one frame with the groups inside.
- Select that frame and add an SVG export in the right-hand panel.
- In the export's settings tick Include "id" attribute. Without it Figma doesn't keep the group names, and nothing can be matched to a body part.
Colours
Most things in the shops can be bought in the buyer's own colours, and you choose which parts buyers can recolour: up to 8 colours for each item.
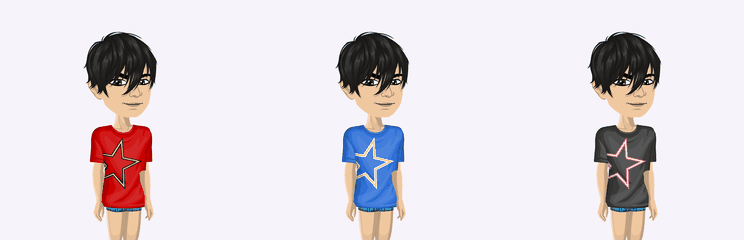
- Put the shapes of each colour in a group named
color1(orcolour1), thencolor2, up tocolor8. The colours you drew them in are the ones the shop shows until a buyer picks others. Copies your program makes, likecolor1-2orcolor1 copy, count ascolor1. A single shape or layer with one of these names counts too, whatever group it is in, so name somethingcolor1only when you mean it. - Draw shading as see-through dark or light shapes on top, outside the colour groups. Then it shades whatever colour the buyer picks.
- A stroke, the line drawn round a shape, keeps the colour it was drawn in, and so does anything outside a colour group. To let buyers recolour a line, draw it as a filled shape in a colour group. The black lines round Style Files' star are drawn that way, in
color2.
In the Studio, press Try colours under the preview to check which parts change. If nothing in your item can be recoloured, the report tells you.
Room items
A room item is a single drawing. It has no body-part groups and no side view.

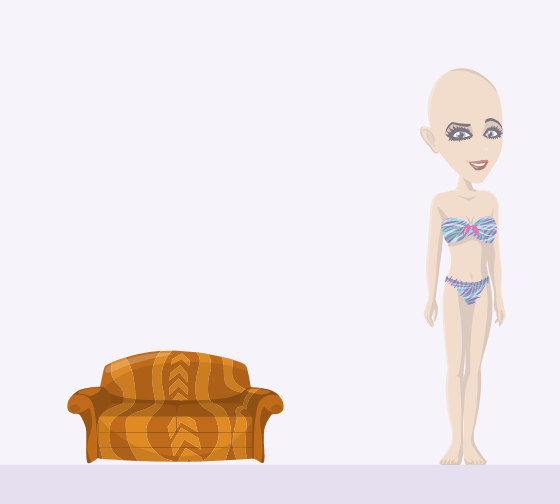
item group and standing on the floor line beside the figure.- Draw it at its real size next to the figure on the page. The game shows it at that size beside a MovieStar, so the Funky Couch comes up to just above a MovieStar's knee.
- Draw in the
itemgroup, or in a layer of your own that isn't a guide layer. - Stand it on the floor line, the top of the darker band at the bottom of the page, so you can judge its size against the figure. In a room it stands on its lowest point, and the empty page around it is trimmed off.
- The figure on this page is about 700 px tall in your program. Your item's longest side has to be between 60 and 1,500 px.
- Colours work the same as for clothes.
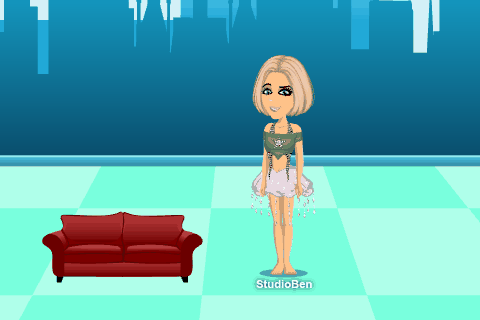
When players decorate they can mirror an item, so draw it facing whichever way looks best.
Animations
An animation has no drawings in it. It only says where each part of the body is on each frame, so it works on every MovieStar, whatever they're wearing.
The animation template has one layer for each body part, named after it and linked like a real body. The hips carry the torso and the legs, and the torso carries the neck and the arms. Turn a shoulder and the whole arm follows. The two templates differ only in the body drawn on them. They move the same skeleton, so an animation made on either works for every MovieStar.
Each hand has several layers, one for each hand shape (FrontRightHand1 relaxed, FrontRightHand6 an open palm, and so on), and each already sits on the wrist. One shows and the rest are at opacity 0. The Wave example shows FrontRightHand6 in place of FrontRightHand1 from frame 6 to frame 47, while the arm is up.
The rules
- Keep the layer names. Each layer is matched to its body part by name.
- Keep the hips where the template has them on the first frame, or the MovieStar jumps when the animation starts. Arms and legs can start in any pose. Move the hips to move the whole body.
- Animate the layers' position, rotation, scale, skew, anchor point and opacity, with any easing. You can parent one layer to another, including to a null object, which moves the layers parented to it and isn't drawn.
- To change a hand's shape, set the new one to opacity 100 and the old one to 0 on the same frame, with hold keyframes (Toggle Hold Keyframe in After Effects) so they don't fade into each other.
- To turn the MovieStar to the side, set the front's layers (the ones named
Front…) to opacity 0 and the side's (Side…) to 100 on the same frame, with hold keyframes, and the other way round to turn back. The side layers are in the template already, hidden and standing as the game's side wave starts. Show one set at a time: the report says if a frame shows both. - To hide a body part for a while, set its opacity to 0.
- Keep the layers in the template's order. The game draws the body in that order, and the order can't change during an animation.
- Keep the composition's size, and keep the body layers in the main composition, not in a pre-composition.
An animation can be up to 15 seconds long. The template's composition is 2 seconds at 24 frames a second, so for a longer one, make the composition longer. You don't need to stretch the layers, because each one already lasts 15 seconds. Players choose in the game whether an animation loops or plays once, so if yours is meant to loop, make its last frame lead back into its first, as Cheerleader Pink does.
The side view has its own hips, torso, head, arms and legs, and two hand shapes on each side, SideRightHand1 and SideRightHand2. An animation can be all side view, all front view, or turn between the two as often as it likes.
The game only reads how the body layers move. Drawings inside a layer, effects, masks and expressions are left out, and a layer that isn't a body part only counts through the body layers parented to it. Turn expressions into keyframes before you export. A 3D layer is read as a flat one.
Exporting the Lottie file
After Effects with Bodymovin
- Install the free Bodymovin extension, and in Edit > Preferences > Scripting & Expressions tick Allow Scripts to Write Files and Access Network.
- Open Bodymovin from Window > Extensions > Bodymovin, choose Import Lottie Animation and pick the template or an example. You get a composition with all the body layers.
- Animate the layers. If you used expressions, select the property and choose Animation > Keyframe Assistant > Convert Expression to Keyframes.
- In Bodymovin tick the composition, choose where to save, and press Render. Upload the
.jsonfile it writes, not a.lottiepackage.
Glaxnimate (free)
- File > Open and pick the template or an example.
- Animate the layers on the timeline. Glaxnimate has no skew, so when you open our examples in it, a hand or a leg can look a little different.
- File > Save As and choose Lottie Animation (
.json), not dotLottie.
Backgrounds
A background is a drawing or a picture that players put behind their city, in rooms, on ArtBook pages and in movies.


- Draw it in a vector program and save it as SVG, and it stays a drawing, as clothes do: the game draws it sharp at any size. Use the SVG template's page, 1960 by 1000, or any page of that shape.
- Or paint it at 1960 by 1000 pixels and save it as PNG or JPEG, up to 5 MB. The smallest accepted is 980 by 500. A bigger picture is fine up to 40 million pixels (about 8800 by 4500), and the Studio scales it down.
- The shape is about 2 to 1. A picture of another shape has its edges cut off to fit, and the report tells you.
- MovieStars stand in the lower part of the picture, so keep that area simple. Keep anything important away from the edges, because a screen of a different shape cuts a little off them.
- The Studio saves a picture again as a JPEG. Only what you can see is kept: layers are flattened and see-through areas turn white. A drawing keeps its shapes, with white under any see-through areas too.
- An SVG that can't stay a drawing is kept as a picture, and the report says why: a page of another shape, a photo placed in it, or too much detail.
Uploading
Any player can use the Studio. Go to studio.msprewritten.com and log in with your game account, then press New.
Pick what you made, then fill in:
- Name: what the shop will call it, 3 to 40 characters.
- Category: the shop shelf it goes on, such as Top, Jacket, Bottoms, Hair, Headwear, Glasses or Shoes. The examples for the category you pick are shown first.
- Who can wear it (clothes): Girls, Boys or Everyone. Everyone sells it to both from your one file, and it fits best on the body you drew it on. Picking Headwear or Glasses sets it to Everyone.
- Template used (clothes): the girl's or the boy's template, whichever you drew on. For hair, hats and glasses either is fine.
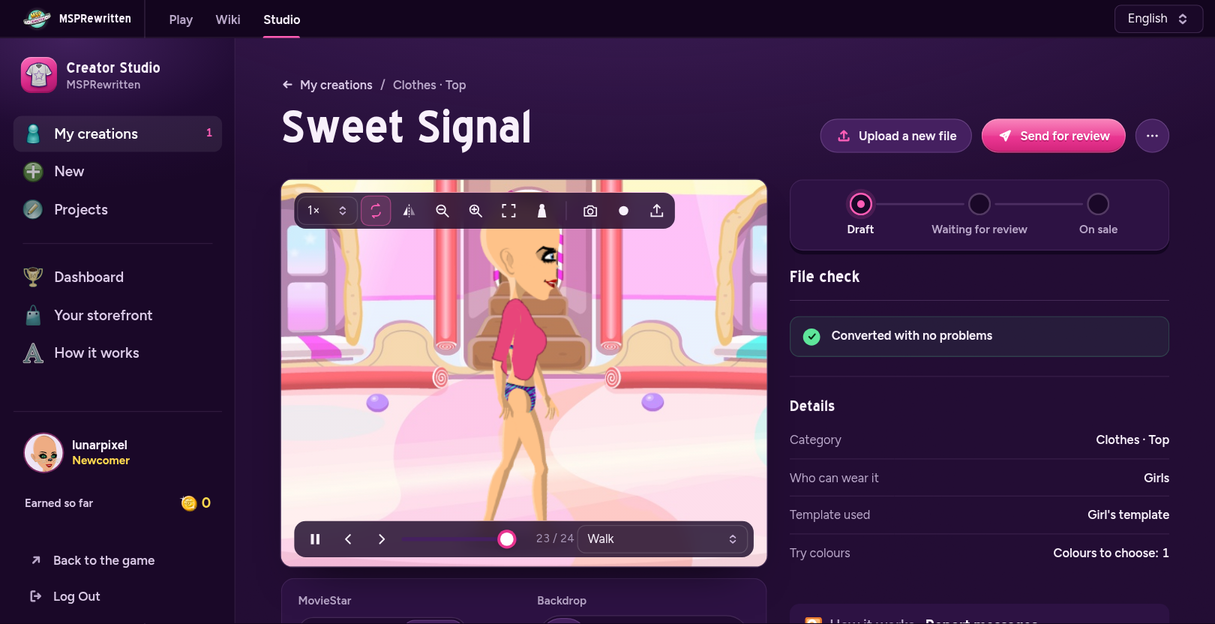
Press Choose your file. The Studio converts it right away and shows it on your own MovieStar, with the report beside it. Press Walk and Dance to see clothes move, and Try colours to recolour it. Anything under "Fix these before sending it for review" has to be fixed. The rest is worth checking but doesn't stop you.
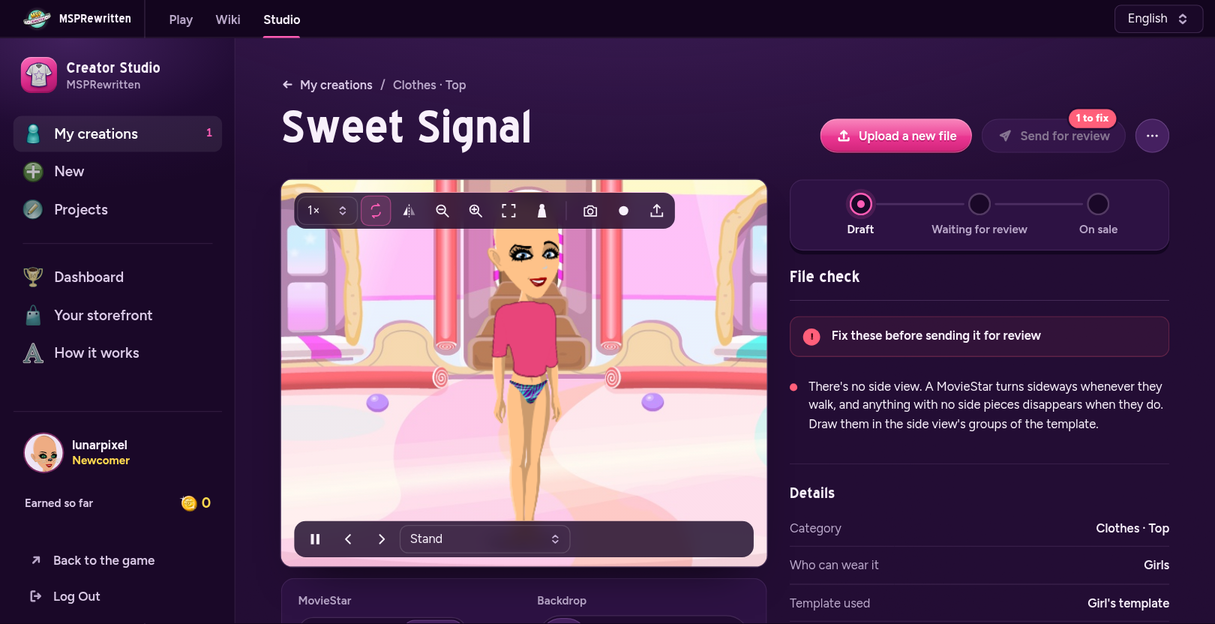
To fix something, change it in your program, export again and press Upload a new file. The draft keeps its name and gets the new file.
Review and earning
When the report has nothing left to fix, press Send for review. One of our reviewers checks every creation by hand before it goes on sale, which can take a while. Until then, Take back from review brings it back to change it.
What reviewers look for
- You made it yourself. A traced or copied drawing, one of our examples, a brand logo or a character you don't own will be turned down.
- Players of every age will see it, so keep it friendly: nothing rude or frightening.
- It has to work in the game. Clothes should sit properly on the body from both sides and leave nothing behind when the MovieStar moves, and a room item should be a sensible size.
If it's approved
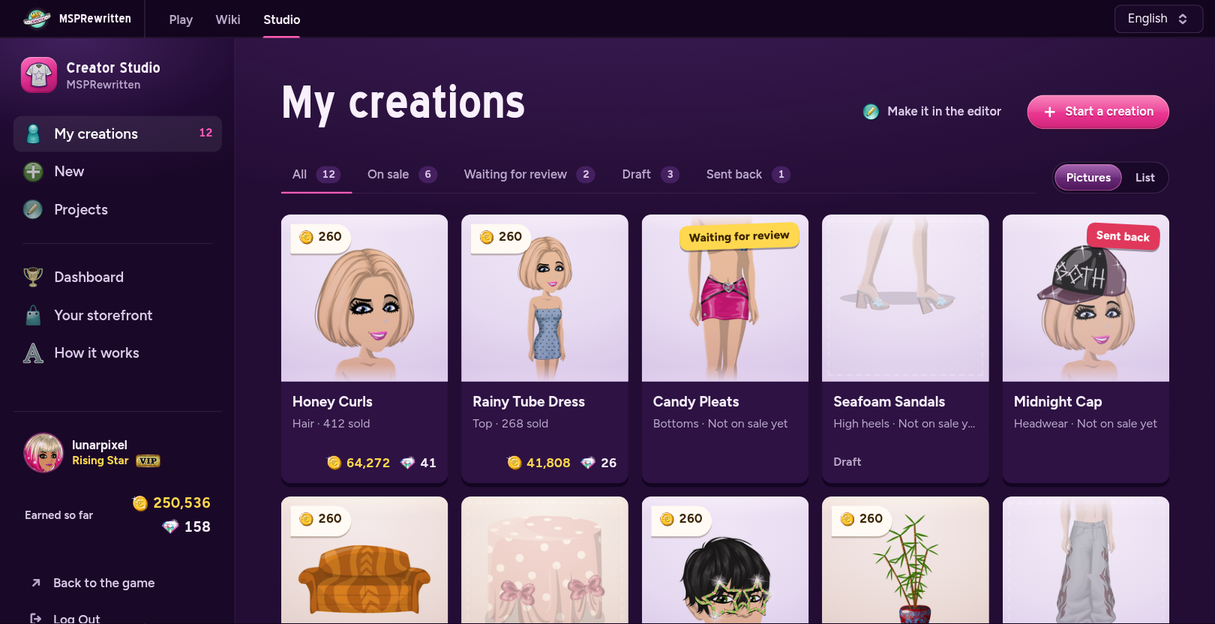
- It goes on sale in the shop for its category, for the price you asked in StarCoins or in Diamonds (our reviewers may change it). The Studio's My creations tab shows it.
- You get a copy for free.
- Every time another player buys it, you earn 60% of the price: in StarCoins for a StarCoin sale, in Diamonds for a Diamond sale. The Dashboard shows what you've sold and earned. Buying your own creation earns nothing.
- The game tells you when a creation is approved or sent back, and offers to open it in the Studio.
If it's sent back
You get a note saying what to change. Upload a corrected file to the same creation and send it again.
Once it's on sale
It can't be changed, because players own it. To improve it, upload the new version as a new creation. We can take a creation off sale if a problem turns up later. Players who bought it keep their copy.
Limits
| Clothes and room item files | SVG, up to 10 MB |
|---|---|
| Animation files | Lottie JSON, up to 5 MB, from 2 frames to 15 seconds |
| Background files | PNG or JPEG, up to 5 MB, from 980 by 500 pixels up to 40 million pixels; or SVG, up to 5 MB |
| How detailed an item may be | The report warns past 250 KB or 22,000 path segments (each straight or curved bit of a path is one), heavier than three in four of the game's own clothes, and doesn't accept more than 4.5 MB or 360,000, past the heaviest the game itself sells. These count your item after the Studio has converted it, which is much smaller than your file. |
| Colours a buyer can change | Up to 8 for each item |
| Room item size | Longest side between 60 and 1,500 px on the page |
| Name | 3 to 40 characters |
| Unpublished creations | Up to 30 at a time |
| Waiting for review | Up to 5 at a time |
| Uploads | Up to 40 an hour, and up to 10 sent for review a day |
Everyone in a room has to load your item, so a simpler one loads faster and moves more smoothly.
Report messages
The most common things the report says, and what to do.
| The report says | What to do |
|---|---|
| This is our example "..." with little of your own in it | An example can't be sent for review. Draw your own on the template and send that. |
| The page is ..., but the template's is ... | Start again from the template and don't crop or resize the page. In Illustrator, export with Use Artboards ticked. |
| Nothing was found inside a body-part group | The group names were lost when you exported. In Figma tick Include "id" attribute; in Illustrator set Object IDs to Layer Names; in Inkscape save as Inkscape SVG. Then check each piece is inside a body-part group. |
| There's no side view (or no front view) | Draw the pieces for the missing view in that view's groups. |
| Some shapes aren't inside a group named after a body part | Move them into the group for the part they sit on. The report says where they were found. |
| The drawing in ... is a long way from that body part | It's probably in the wrong group. Left and right are the MovieStar's own. |
| Nothing in this can be recoloured by a buyer | That's allowed. To let buyers recolour it, put shapes in groups named color1, color2 and so on. |
| The file's style sheet is too big | In Illustrator's SVG options set CSS Properties to Presentation Attributes, and export again. |
| Text isn't supported | Turn text into outlines (Create Outlines in Illustrator, Object to Path in Inkscape) and export again. |
| Pictures placed in the drawing aren't supported | Redraw that part as shapes. |
| Clipping isn't supported, Masks aren't supported, or Blur, shadow and glow effects aren't supported | Cut the shapes to the outline you want instead of clipping or masking them, and draw shading as see-through shapes. |
| This is more detailed than most things in the shops, or This is too detailed | Simplify the paths (Object > Path > Simplify in Illustrator, Path > Simplify in Inkscape) and remove detail too small to see. |
| The drawing is ... px, which would be tiny in a room (or is bigger than a room) | Draw it at its real size next to the figure on the room page. |
| No body layers were found | Your program renamed the layers. Name them back as the template has them. |
| On the first frame the hips are ... px from where the template has them | Start with the hips where the template has them on the first frame. |
| This layer ends before the animation does | Drag the end of that layer out to the end of the animation. |
| Two shapes of the same hand are showing at once | Set the one you're not using to opacity 0, with hold keyframes. |
| At ... the front and the side of the body are showing at once | Set the view you're not using to opacity 0 on that frame, with hold keyframes. |
| Expressions aren't run | Turn them into keyframes before exporting. |
| This is a .lottie package | Export plain Lottie JSON, a file ending in .json. |
| The picture is ..., which isn't a background's shape | Export at 1960 by 1000, or keep it if you like the preview. |
| This was kept as a picture, not as a drawing | The report says why. Fix that and export the SVG again to keep it as a drawing, or keep the picture if you like the preview. |
MSPRewritten Creator Studio · Top creators · Play MSPRewritten